Creating an Assistant
Access Assistants Page
Navigate to the Assistants page and click the “Create new assistant” button in the top right.
Basic Information
In the creation panel, provide: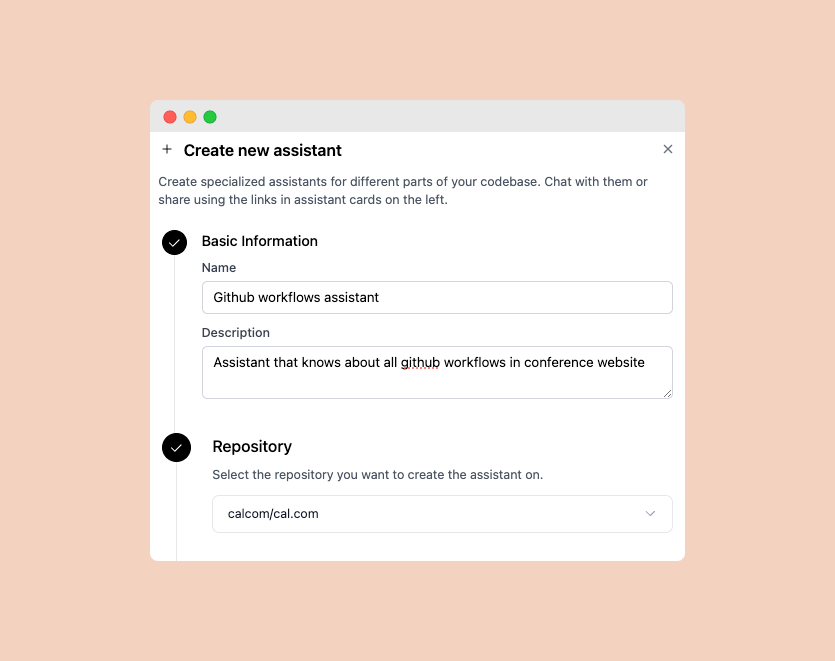
- Name: A descriptive name for your assistant
- Description: Brief explanation of the assistant’s purpose
- Repository: Select the repository this assistant will have access to
Configure Knowledge Base
This step is optional but recommended for better response quality.
- Click into the search field to browse available files/folders
- Select relevant paths to restrict the assistant’s context
- If nothing is selected, the assistant will have access to the full repository
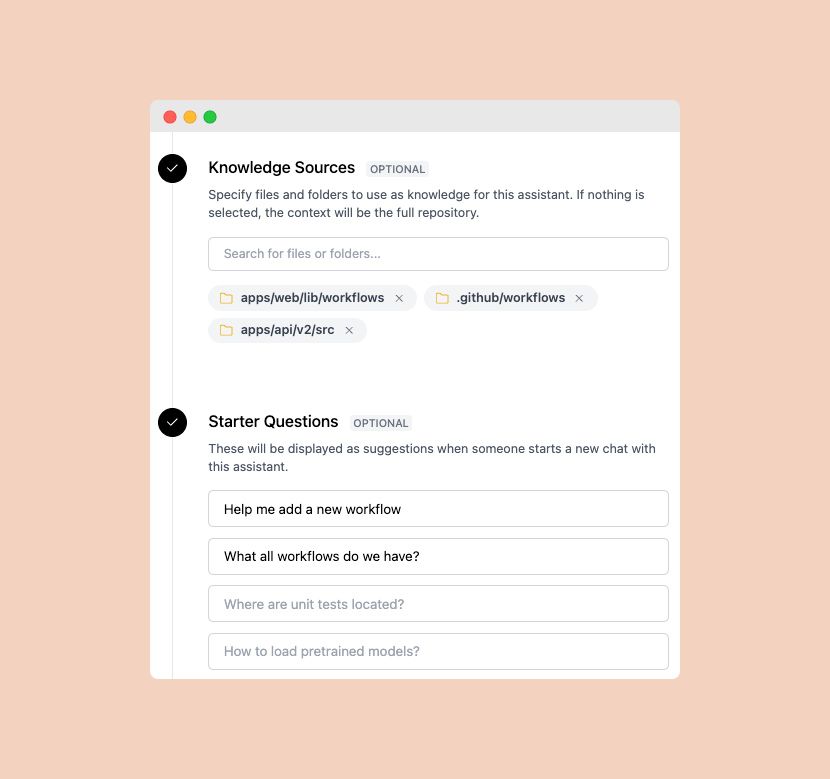
Add Starter Questions
This step is optional. Starter questions appear as suggestions when users begin chatting with the assistant.
- “How do I set up the repository locally?”
- “Where can I find the API documentation?”
- “What’s the recommended way to contribute?”
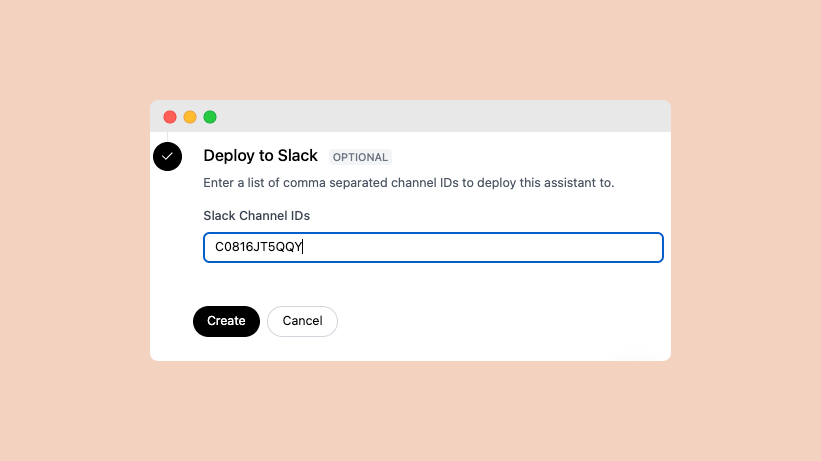
Deploy to Slack
This step is optional. You can always deploy to Slack later from the assistant’s edit page.
Complete Slack Integration First
Before deploying to Slack, make sure to complete the Slack integration setup first.
- Enter comma-separated Slack channel IDs
- The assistant will be available in these channels
- In deployed channels, the assistant’s specialized knowledge takes precedence over any default repository context
Start Chatting
Once created, you can chat with your assistant directly through the Assistants page or tag 
@Depth in Slack to ask questions.Using Your Assistant
Once created, there are several ways to interact with your assistant:Web App
Chat directly through the Assistants page
Slack
If deployed, tag
@Depth in configured Slack channels to ask questions